
We’ve had a handful of people ask about how we shot Corey Gray’s video for “Somebody” (which you can watch by clicking here) so I figured I should briefly go over the nuts and bolts of the shoot just to give you guys an idea of how everything was achieved.
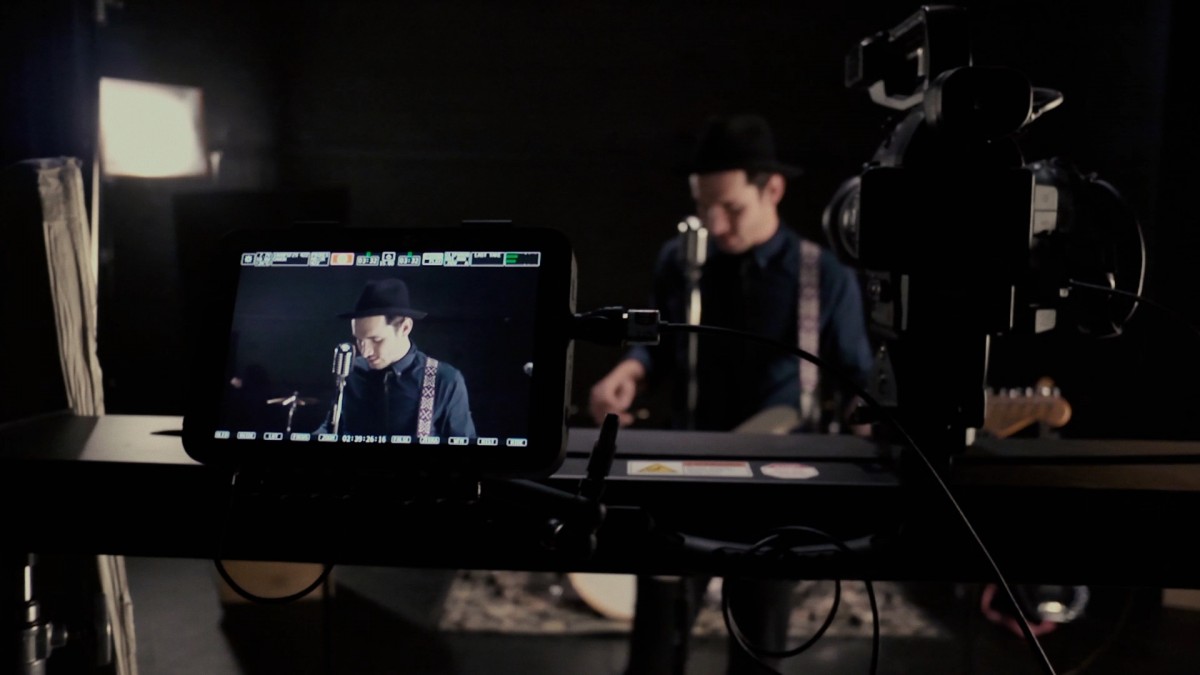
To start, we shot the narrative stuff and the performance footage in two places, respectively: Two North in DTLA, and the YouTube Space in Culver City. Two North is owned and operated by some friends of ours, so it was nice to get the whole gang involved on this one. The majority of the shoot was in the main area for the ever popular fitting/fight scene:

As you can see, the location has some pretty huge windows in place of a North-facing wall, so we didn’t have to do anything in regards to lighting there. As the sun started to get away from us the ambient light began to change into reflected light off the brick building outside, so that did pose a challenge in regards to exposure, but we were working fast and the general “feel” of the light remained the same so we weren’t in too much trouble. Chasing daylight is always nerve-wracking though.
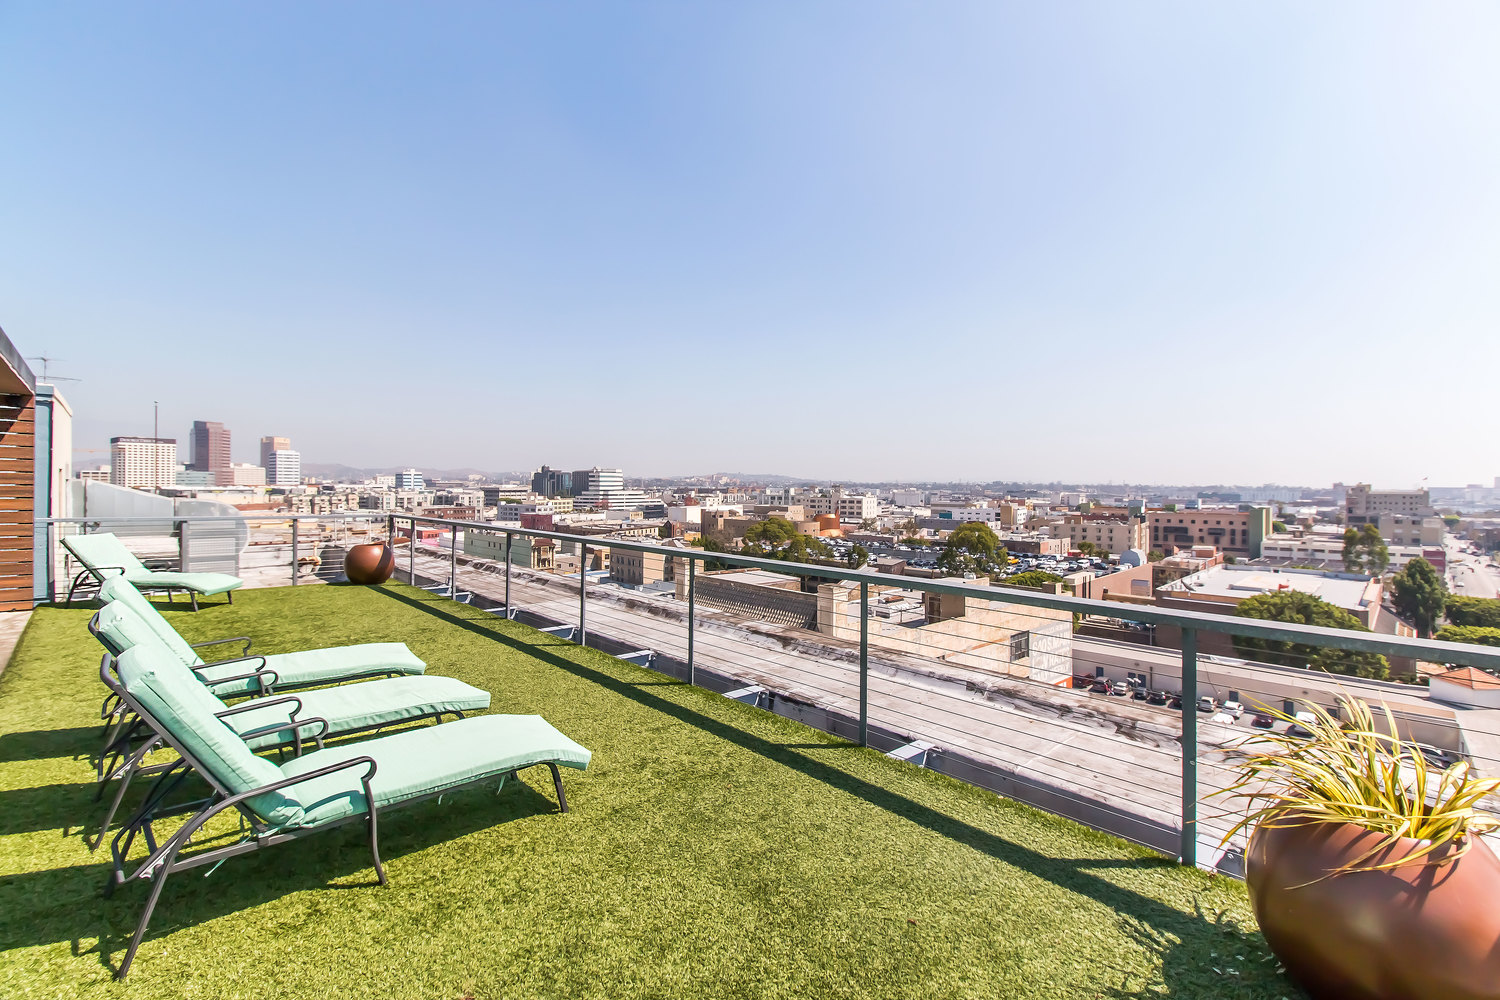
From there, we moved to the rooftop:
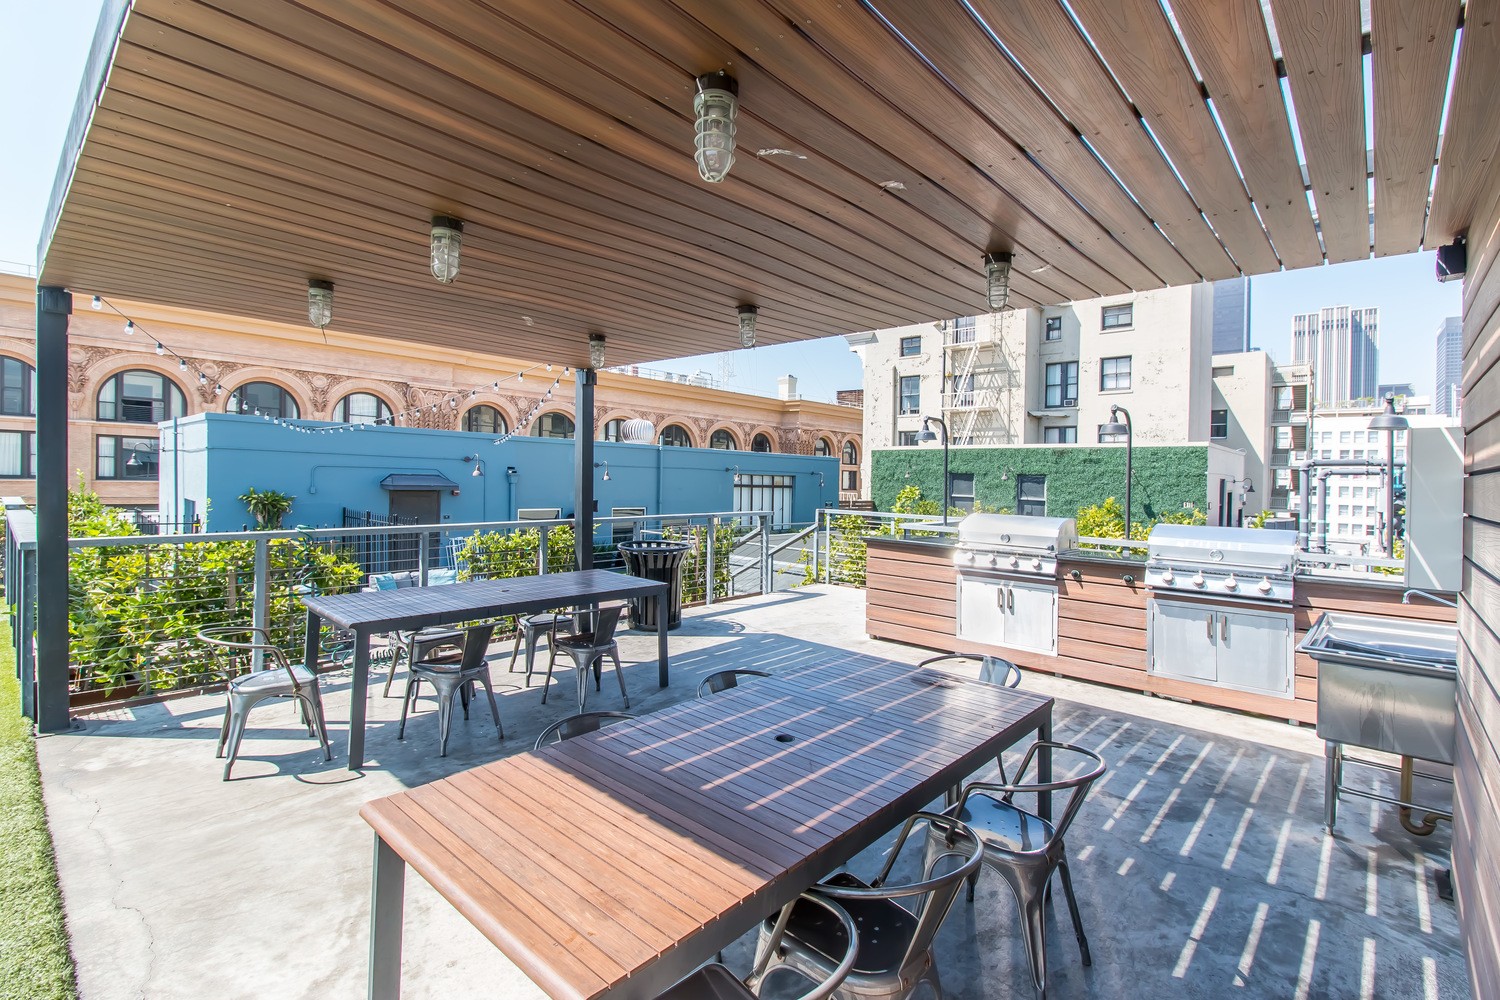
We got our party shots and opening scene up there pretty quickly with little effort. Interestingly enough, during the party scene where “Codename Viper” meets Corey, there was another crew to our left shooting a Halloween short. Popular spot!
In any case, I wish we would have brought a long stinger to plug in one of our Kinos up there to really dial in the light, but we went with the natural glow of LA’s skyline to light everything (as well as the practicals seen above) and it worked out well enough. Shooting at high ISOs on the Canon Cinema EOS cameras is a real treat in any case; earlier this year we shot some stuff at night in Colorado at 20,000 ISO (!!!) and it came out perfectly!
Going back inside, the private room that Viper brings Corey to was lit very simply with two daylight balanced Diva Lites from Kino Flo, as laid out below (imagine the two red cans are one Diva):

We had a big black folding wall that we used to cover the stand holding Kino #1 behind the actress (which had the grid cloth hairnet thing that comes with the lamp diffusing it) and Kino #2 was just out of view to her right, half covered with a red gel, half uncovered. The reasoning behind this being that the gel was a piece of scrap we found in one of the Two North kits and it ended up looking the way we wanted so we stopped worrying about it and learned to love that particular bomb. This setup lit both Corey and Karsen (who played Viper) nicely and gave us the sort of private room/club type look that we were going for.
The rooftop “torture” scene was also shot using “natural” LA light pollution as our exposure method, except for the few times we tried to use this little handheld LED light (like a regular flashlight but it has three rows of eight white LEDs down the side with a standard flashlight on top) which was half used to expose Corey strung up on the antenna and half shot into a gold reflector to camera left, exposing “Lash” and her set of torture tools. That setup pretty effectively failed us, but that’s what happens when you get to the end of the night and the director is running on two Red Bulls and a donut. We got the shots, but it was a tough battle in post to make it all work.
Really, all the fun lighting and gear was used at YouTube Space:

We had an Arri 600 bounced off a silver reflector into some diffusion as our key. This gave us a nice big, soft light that lit everyone on stage, for the most part. Opposite of that we had a simple white bead board set up to give us a bit of fill on Corey, as well as an LED Par Can aimed straight down through some more diffusion to give him a bit more definition and rim light. I believe one of those LED cans was aimed at Ando, the drummer, as well. The LEDs were already on the grid above us from a previous shoot, so we turned on the ones we liked sort of indiscriminately. We had an Arri 300 as a kicker, also shooting through diffusion, behind the band to give everyone a nice rim light to separate them from the black background. Fun fact about Ando: he did the sound design for the beginning of the video too!

We shot on the smaller stage at YouTube, Stage 3, and having all the lights so close to everyone meant we had to be pretty precise with our camera placement. To remedy that, and to avoid locking everything off, we had the One Man Crew Director lent to us from Redrock Micro to help us get the dynamic movement we wanted while still maintaining complete control over our image. Had we put the camera on, say, the Glidecam rig for the majority of the shoot, we would have been fighting the lights the entire time in regards to unwanted spill, seeing stands, and other little annoyances inherent in human operation. On top of that we weren’t looking for a ton of movement, so something like a Movi-style rig would have been overkill. With the OMC-D, we set up the lights as we saw fit, adjusted the start/stop points on the slider to make sure we couldn’t see them and let’er rip! It shaved a lot of time off our day which was important as we only had a few hours in the space to work with. Overall that lighting setup was left alone, except for when we got the wide shot to the left of the band, where we moved the 300 to the opposite side of the room so it wouldn’t be in the shot. That’s also when we learned that the OMC-D had a high-speed function, which was a welcome discovery.
In Post, we didn’t do anything too fancy: A simple Fuji film emulation and some basic color correction was all it took to give us a look we liked. The fangs on Viper were supposed to be practical but ended up being digital for practicality reasons (ha), so thanks to Taylor Clutter for the assist there. The dart was as easy as putting a fake dart in Corey’s neck while on set and painting it out until the right moment (in Photoshop!) where one frame of a blurry streak before you see it is all that’s needed to sell the effect. Overall, a pretty simple shoot!
Hopefully this gives you guys a little insight and maybe a bit of education! If you have any other questions, feel free to ask me on Twitter at @kwmcmillan.
Until next time!