In our last Sprocket Shot article we discussed how by loading the film in to our Medium Format camera backwards, we get Redscale Photographs. This effect happens because “there is a strong color shift to red due to the red-sensitive layer of the film being exposed first, rather than last [the red layer is normally the bottom layer in C-41 (color print) film]. All layers are sensitive to blue light, so normally the blue layer is on top, followed by a filter. In this technique, blue light exposes the layers containing red and green dyes, but the layer containing blue dye is left unexposed due to the filter.” (thanks Wikipedia). That’s a fun effect, and it may have its place in a project (be sure to over-expose something like 2 stops to get a clean look) but for us, that wasn’t intentional so we had to do it right. All the photos in this article were shot on Kodak Portra 400.
As you can see, we’ve done a lot better here! But, alas, we blew it again. You see, normally when you shoot Medium Format (also known as 120), you load the roll into the left side, you wind the paper into the spool on the right, and then when you take the last photo and wind it up, the end of the roll “detaches” from the left roll and is taken up into the right. From there, you just open the back, pull out the now-wound right roll, lick the sticky bit and seal ‘er up. Nice and easy. This is not the case with 35mm.
With 35mm (also known as 135), the film stays attached to the inside of the film canister. It still travels from left to right but once you’re done shooting, you have to re-wind the film back into its canister and then you’re safe to remove it from the camera. If you’re old enough to remember “point and shoot” film cameras from the 90s to early 2000’s, you’ll recall that electronic whirring sound when you were done shooting. That, as you remember, was the camera’s self-rewinding mechanism saving you some time. Even my Nikon F2, released in 1971, had an attachment you could buy that gave you this functionality. The problem, then, comes when you load a film that expects to be rewound into a camera that has no such mechanism or use for such. In other words, I took the last photo, opened the back of the camera, and flashed the entire roll. EXACTLY what I told myself, you, and everyone in the room that I wouldn’t do. The exact thing I thought I did wrong when I got redscale rolls.
I can’t explain to you how deeply my heart sank when I popped open the 120 back to see film still stretched across the exposure window.
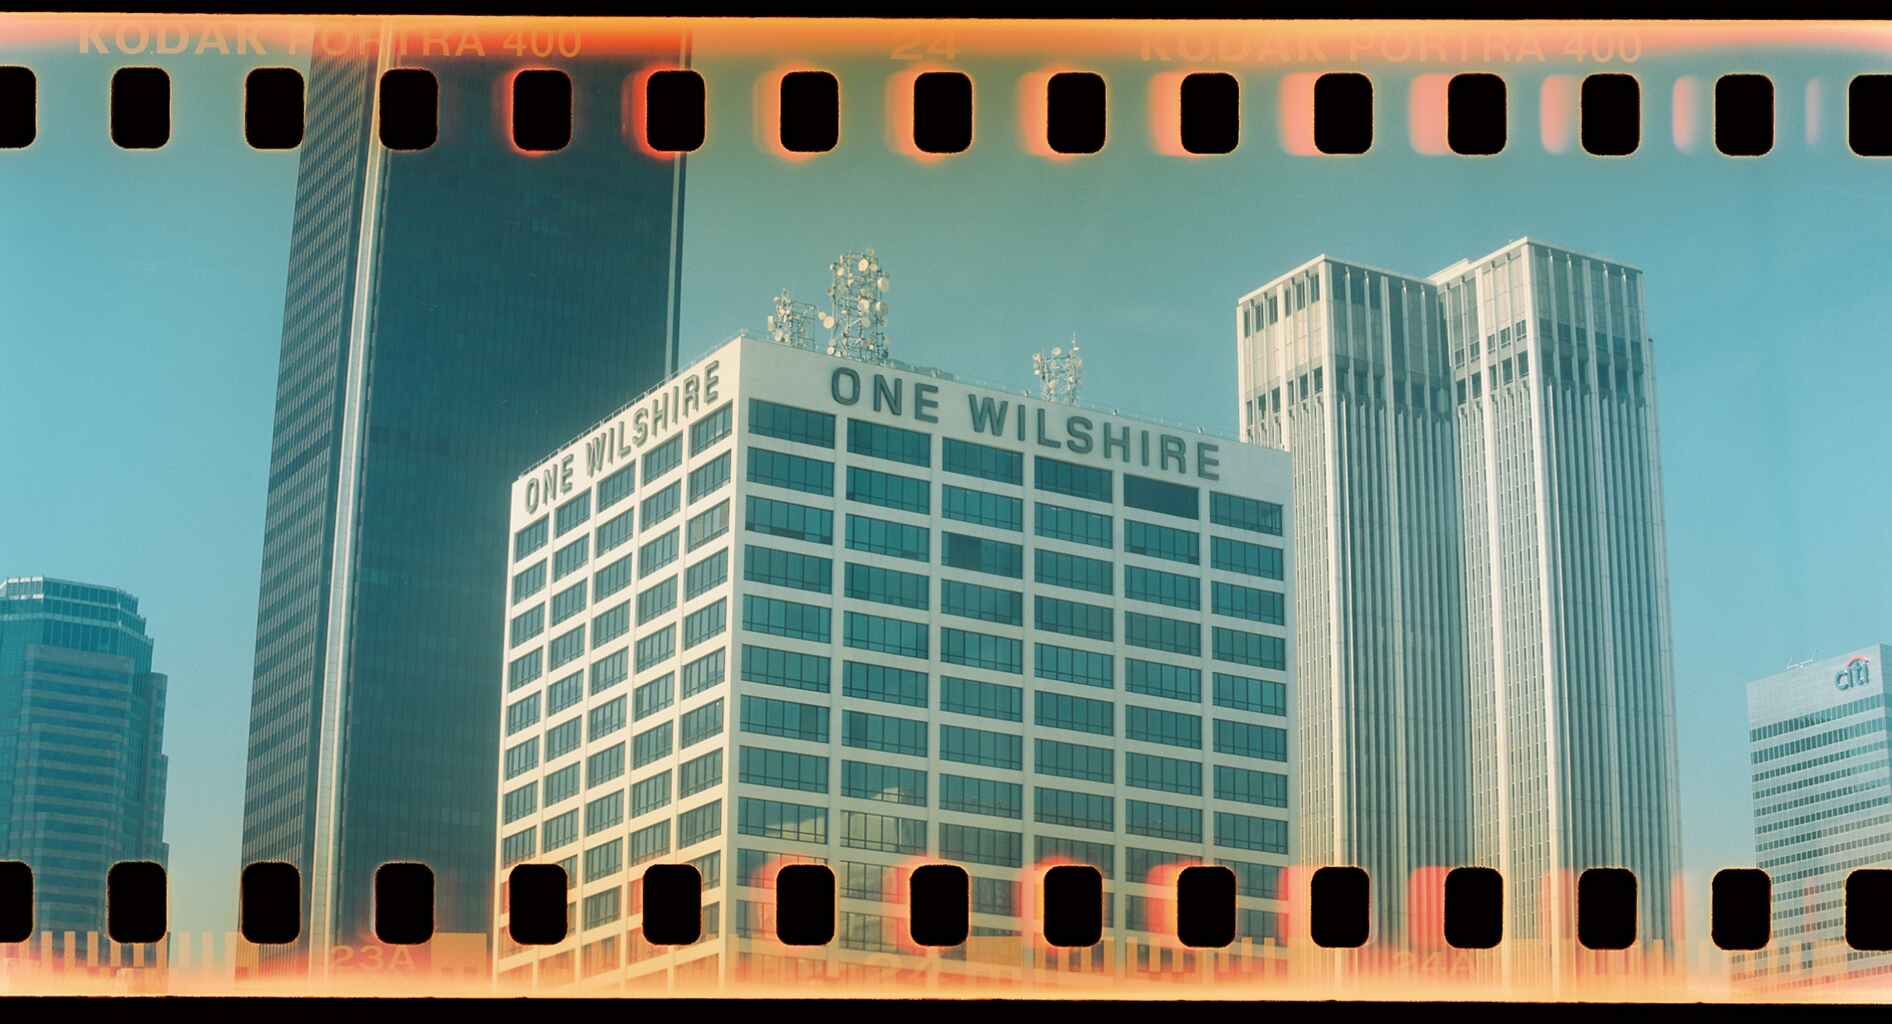
I slammed the thing shut, took it home, locked myself in the bathroom and wound up the canister as it was supposed to have been. Luckily, as you can see above, it didn’t come out that bad! The photos are a little green and the edges are “burned” but that’s kind of a cool look on its own! If that’s what you want it to look like, there ya go; pop the back open for a quarter second and then hope it comes out.
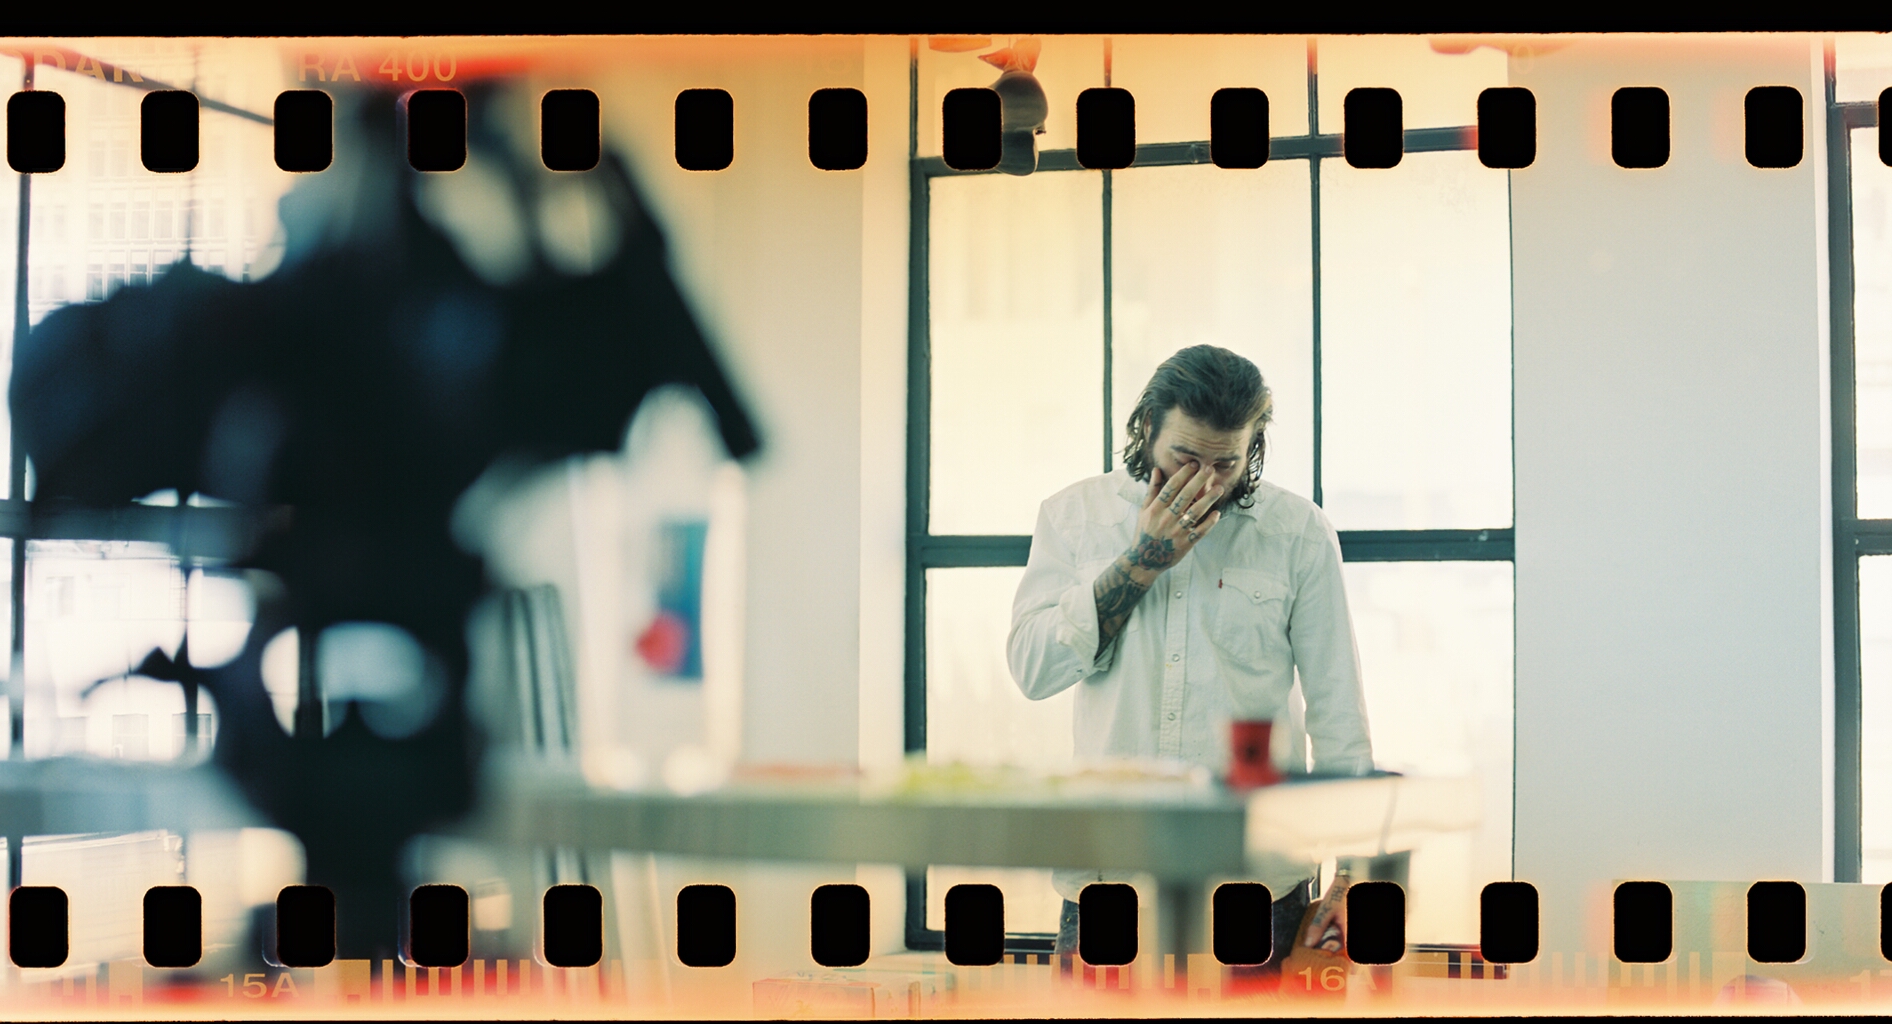
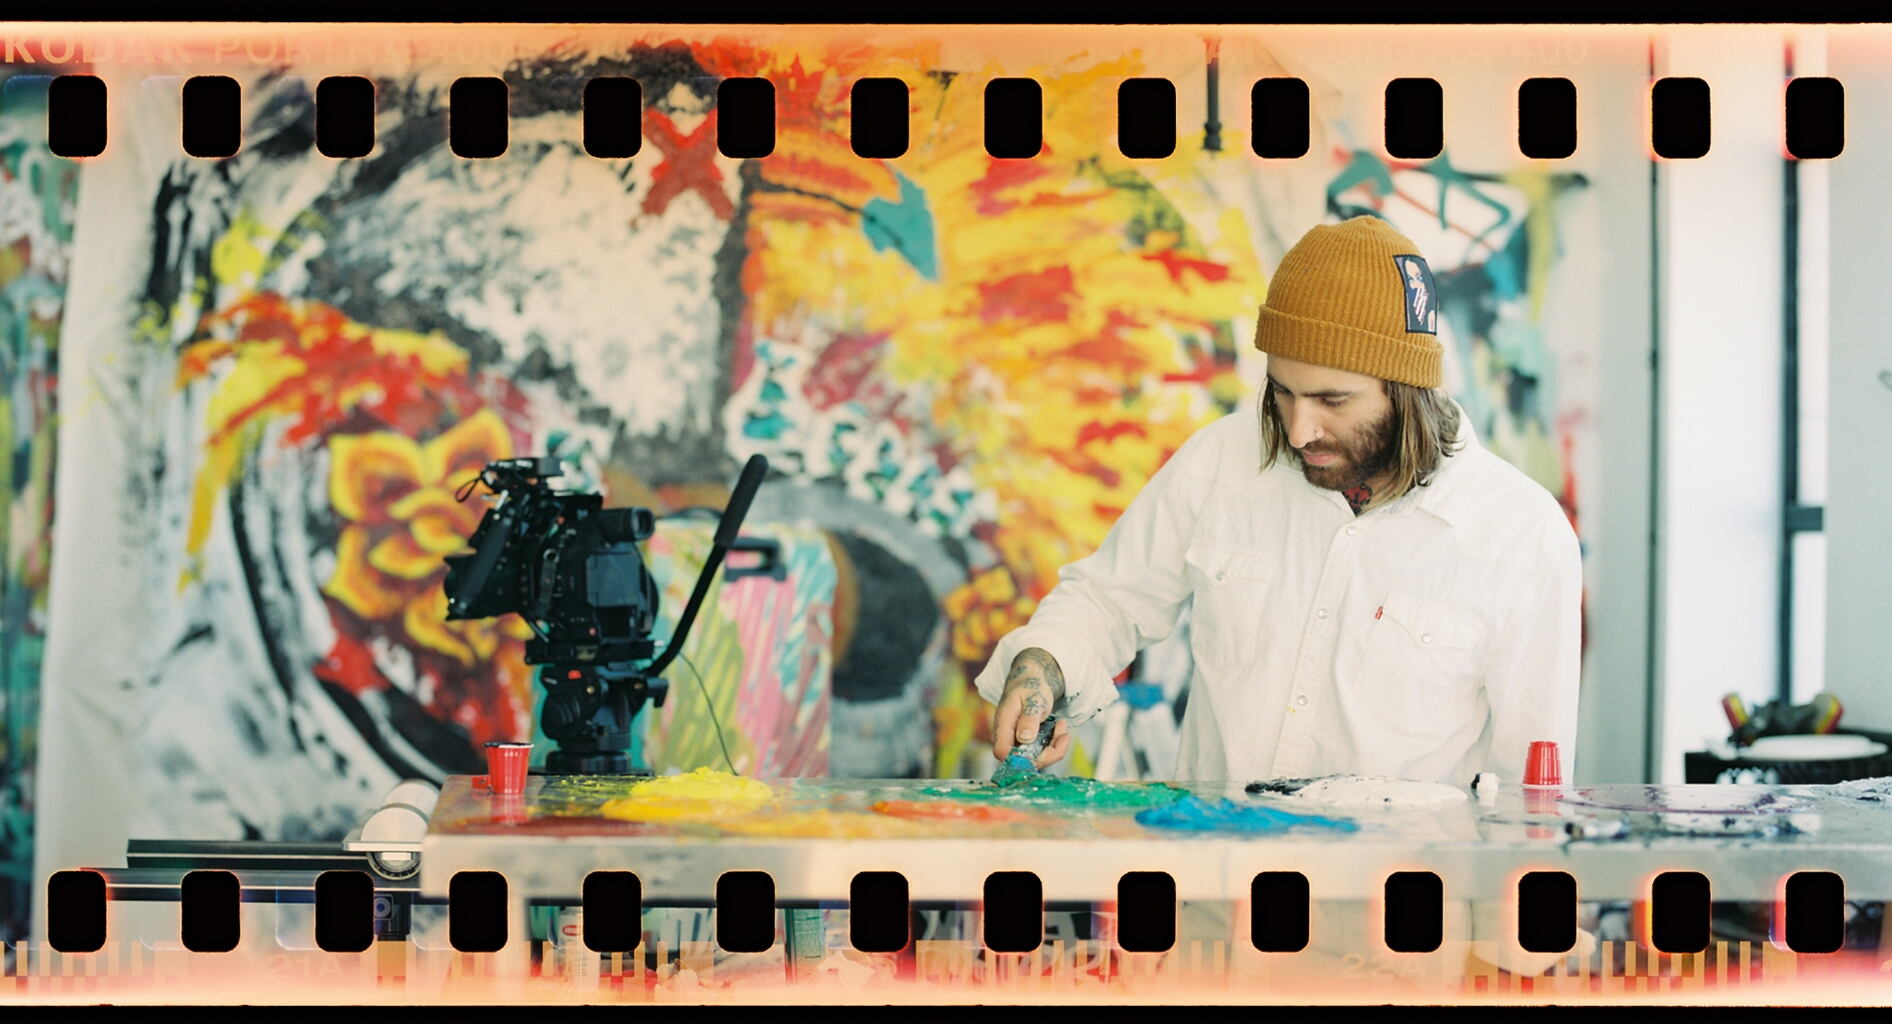
Problems with absent-mindedness aside, I figured this would be a good time to quickly talk about Color Correction! I mostly got what I wanted from these photos, but the coloring wasn’t exactly as I wanted it due to the flashing. The above shot with Chase came out decent, but most didn’t. So what do you do if you’re almost there?
Aside from drastic correction or color grading, color correction is pretty simple once you know what you’re doing. Historically you could only change the “exposure”, temperature (warm to cold) and tint (green to magenta) of any given strip of film using the print lights. I’m not well versed enough in the process to speak about it with any authority but the concept is there: all we’re adjusting is Tint, Temp, and Exposure. In Premiere these are in the Lumetri panel, but in Photoshop you’ll be using Curves and Color Balance or Hue/Sat. As with the previous photos, the pic below is an example of a frame as I got it from The Darkroom:
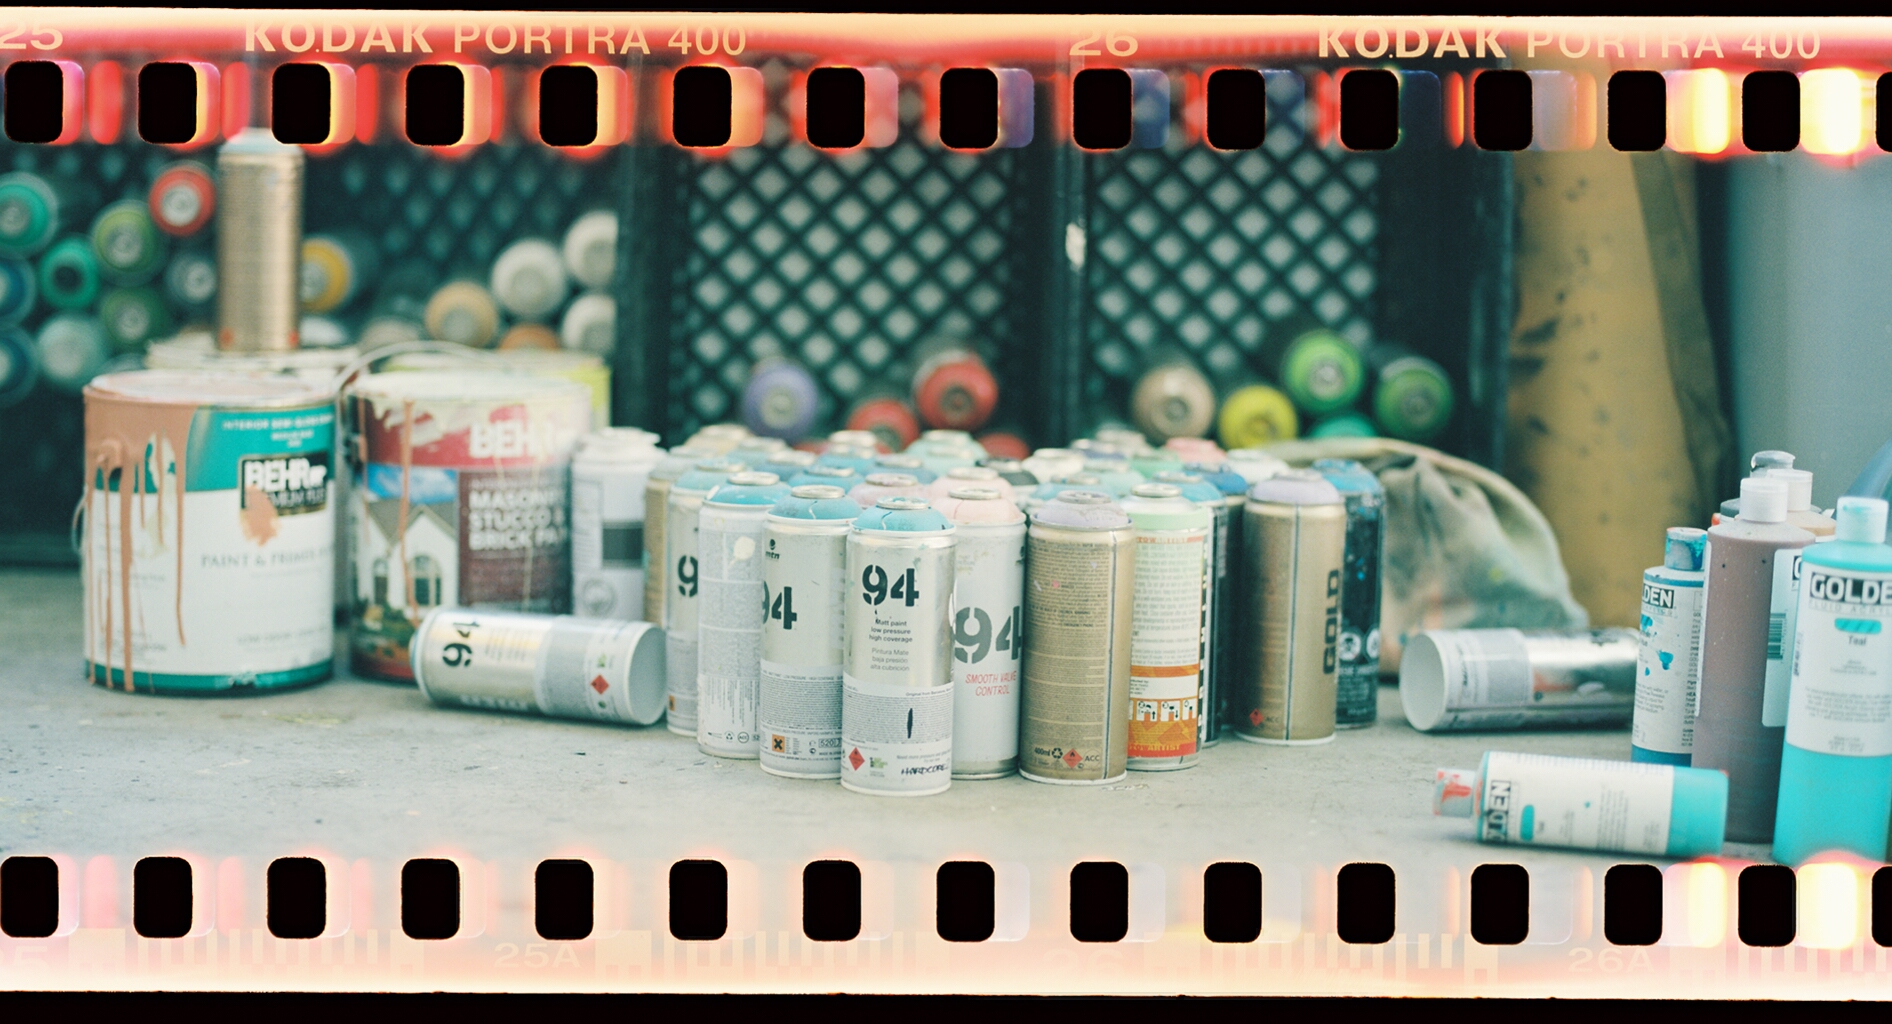
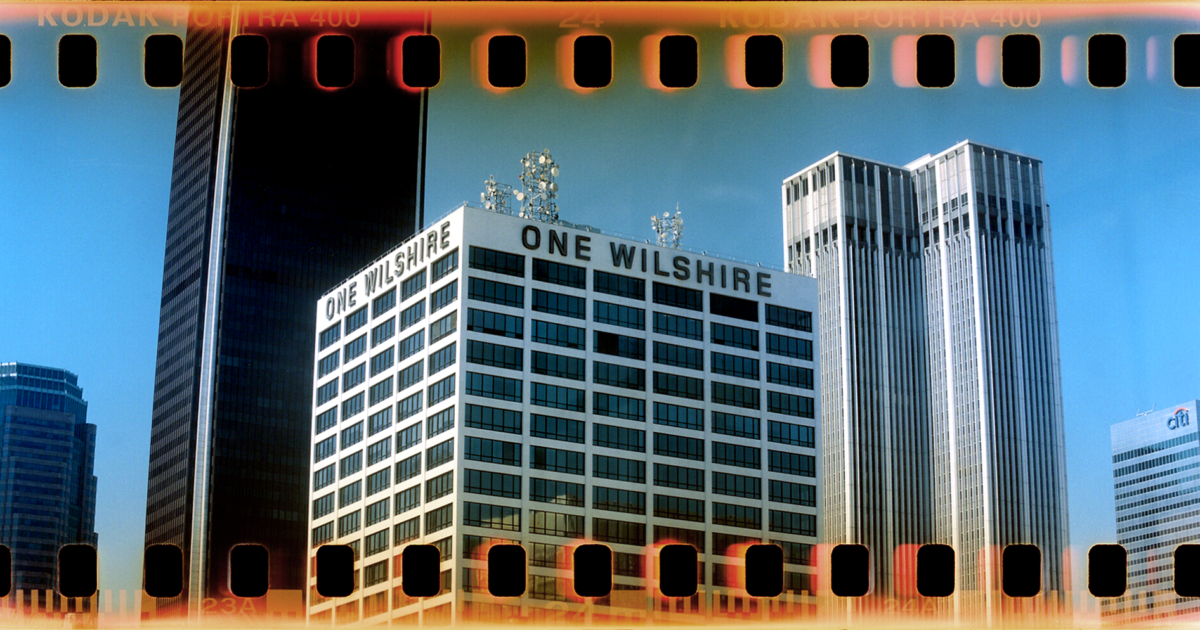
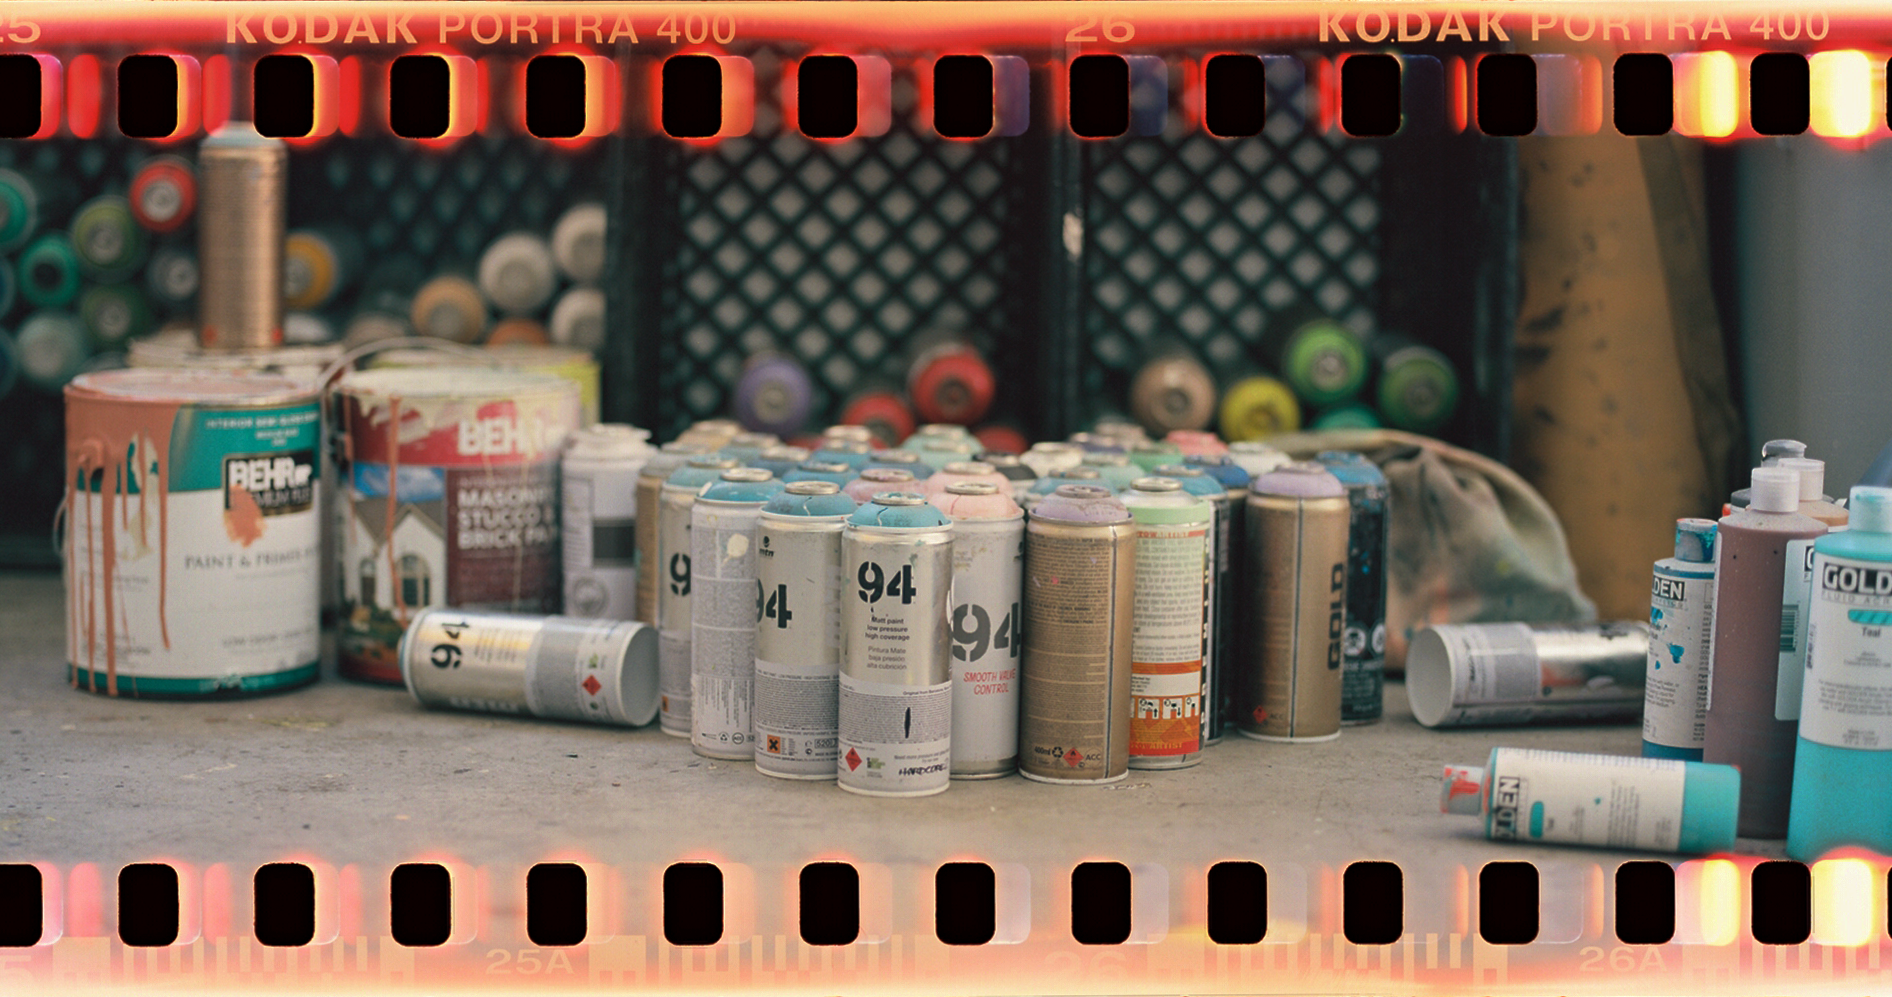
As you can see, it’s a little bright and a little green. Using a Curves layer I put a point towards the highlights and brought that down, giving the image more “life” and fixing some of the saturation issues. From there I put a point near the shadows and brought that back up a bit to lessen the contrast. After that, setting Black, White, and Grey points in a Levels layer (or a second Curves layer) brings the color to where it’s supposed to be. You can use a Hue/Saturation layer for targeted or blanket color correction if needed as well. The Hue/Sat layer can make aggressive changes and more targeted adjustments changing individual colors to other colors. There is a video of the whole CC process done on this image with a slightly more in-depth explanation on our Twitch channel where it was live streamed. We stream gaming as well as editing sessions and the like there, so feel free to subscribe for more of that. The resultant image is below:
Much better right? You might like the untouched version, many do, but for my eye this is more what I want it to look like. At least I’d balance the exposure, if I were to leave the green cast. When shooting film correctly I do nothing to the image (with very very little exception) as the film I chose carries the color properties I want for that project. I only do this to film photographs that I screwed up. Digital is a different story, those always get edited.
When editing videos, this is obviously not an option. Your video needs to be balanced from shot to shot, and is non-negotiable when color grading. It’s the first step. It’s also the exact same process! So that’s convenient. Where in Photoshop, you’ll use Curves and Color Balance layers (or Curves and Levels, or Curves/Levels/HueSat, I don’t know your life), in Premiere you’ll be using the Lumetri panel, again adjusting Exposure (and/or Highlights/Shadows when necessary), Temperature, and Tint. From there you can do grading, which is for another article.
Next time you see Sprocket Shots from us, it’s going to be for a project and it’s going to be flawless. Promise!
As an aside, here’s the banner image before color correction which I believe was simply a Black/White/Greypoint adjustment using a single Levels layer: